Showing posts with label holiday. Show all posts

December 18, 2011

A lot like Christmas

With less than a week before Christmas, I suppose I should show pictures of my mantle and tree, and some other decorations I've found. But that's not all- I finally mastered Monkey Bread (after several failed attempts). I've been on a cinnamon and sugar kick for over a week, but during the holidays there's nothing better!

Similar to the Durham's, you can easily make your coffee table centerpiece festive- add Christmas ornaments, and glittered pine cones to the mix! And/or you can add candles.


I love this tree because it's really fun and girly and beautiful. The top has so much personality!


Love the flowers pinned in the tree!


Now for my (skinny) tree-
Nothing super awesome BUT I do love my "B" and "E" ornaments that I received as a gift last year. Next year, I'd rather wrap my ribbons around horizontally, weaving them between the branches.

To make your skinny/bare tree look fuller, you can use the really inexpensive thin garland and layer it between the tree branches. Works like a charm!


My mantle came out much better than I anticipated and it's become my favorite part of my decorations this year. The white wine bottles may look familiar, you can find out how to make them here.


This is a 9ft garland strand with 2 strings of lights, 30 round (shatterproof) ornaments, 4 glass twisted ornaments, 8 poinsettia flowers, and ribbon


All this decorating makes for one sleepy Christmas puppy!


Now for the cinnamon sugar goodness of Monkey Bread!
 Check out this recipe, it's so delicious- IheartFood&SoCanYou Blog

(Photo borrowed from the above blog)


Let me know if you have any questions, and don't forget to follow my blog to stay up on new recipes,
 DIY projects and crafts!

December 7, 2011

Holiday Floral Arrangement

When it comes to floral arrangements, I pass the baton to Red Leopard Ltd.! It's definitely a practice makes perfect kind of craft, and I'm not sure I'll ever get the hang of it. Lucky for me, I know two ladies who are quite amazing at it (along with plenty of other decorating, home renovation, DIY, design projects)!

So during this project, I took notes and took plenty of pictures.
This isn't quite a step-by-step but maybe it will help guide you.

What you'll need:
vase - stems and flowers- floral tape - moss- floral foam

Choose a vase you really like. If you decide on a glass or other transparent one,
you'll need the moss to cover the floral foam. the floral foam requires some cutting, molding, shaving, and smushing to make it fit snug within the vase. (and it's messy!)


A view from the top. The floral foam with the moss surrounding it. From the outside, it gives the appearance that it's only moss.


When choosing stems, choose some that are: tall, full, flexible,
some that vary in texture from one another, etc. Buy stems in odd numbers!

Start with your focal point (usual 2 stems). Hold the stems side by side and adjust the height to what you like. Use the floral tape to secure the stems together, keeping the height the same. Press into your floral foam. Below they used the long wild gold branches with the red berries as our focal point.


If your arrangement isn't going on a round table, establish a front and back so you can focus on what people will see. Start adding addition stems to give a full effect. Twist and bend stems as you like them. Cut the bottoms to trim the length.


For instance, this holly stem was purchased as a straight piece, but after a little muscle from Trish, Waa Laa- Curved (so it can be pressed into the floral foam and hang over the edge of the vase!)


Keep in mind your flowers don't have to be at the highest point.
And in general, not every stem should be the same height.


Almost there..once all your stems are in place, add extra moss to the top of the vase.


Perfectly Beautiful Holiday Centerpiece!
(and you can have the satisfaction that you did it yourself!!!)


Thanks to Red Leopard Ltd. for sharing their expertise!

Stay tuned for more projects and arrangements from the ladies at Red Leopard!

November 28, 2011

DIY Winter Wine Bottles


There's no sense in throwing away your empty wine bottles this fall if you can make fun decorations with them!

Here's what you'll need:
Empty wine bottles, white spray paint, tree branches from the yard, silver branches,
glitter spray, adhesive spray, rock salt


Start by collecting several wine bottles. Soak the labels off in the sink or bathtub.
Put down some newspaper and prepare to spray paint!


Coat the bottle evenly with white spray paint, careful not to cause dipping. Let dry.


Here are the four bottles I painted. Notice there are two taller, and two shorter-- I did that on purpose :) Apply a second coat if needed!


On separate newspaper, lay your branches down and spray them with glitter spray. Let dry, turn over and coat opposite side. You could also dust them with the white paint to make them appear "snowy"- it's totally up to you!


Once your bottles are dry, spray the lower portion of each with adhesive spray. Then sprinkle with rock salt to create an iced look. To finish, lightly spray glitter spray over the entire bottle.


Yep, took this straight out of the kitchen!


So easy, but so cool!

When your branches are dry (doesn't take long at all), combine them and the silver branches
 to fill each bottle


A pair on your mantle/hall table/some kind of black surface looks pretty sharp! Feel free to add a bow!


November 20, 2011

Christmas Bulb Wreath!


There's nothing better during the holidays than a good wreath!


I originally set out to create a holiday bulb wreath that would be silver, white, and blue... but when I couldn't find the colors I wanted, sizes I needed, or they were too expensive for a trial project, I defaulted to traditional Christmas colors with a twist- textured, solids, patterned, etc. (finally found bulbs at The Christmas Tree Shop.. imagine that)

Here's what you'll need:
wreath form (you can make your own, see below!)
Ribbon
Scissors
Hot glue (of course!)
Shatterproof Christmas Bulbs in 3 sizes

(I quickly decided against using yellow ribbon, and opted for green and red instead)

First things first-- Hot glue one end of your ribbon to the wreath form and begin wrapping around, covering the form entirely. Glue the ribbon down in several places. This will serve as your "canvas" and will be mostly covered so don't worry if it's not perfect. You can use two different colors if needed, but keep in mind it will show through in some places.
(Save yourself money by using ribbon that is wireless)


 See! Far from perfect, doesn't matter!


Now- pull all the hangers out of the bulbs


Start with your largest size bulbs and glue them on the wreath form so that they're spaced evenly. Then begin gluing the "medium" size bulbs onto the form. Be sure to alternate colors, patterns, etc. as you go around. You'll complete the wreath by adding the smallest size (I actually cut apart Christmas bulb-shaped garland for these pieces because I couldn't find small enough bulbs.) If you need some visuals, check out this blog!


Once you get gluing it will look something like this. (Sometimes you can see the dried hot glue on some bulbs, but don't worry-- when it's hanging, no one will ever know!) And depending on the bulbs you choose, there may be glitter EVERYWHERE by the time you're finished!


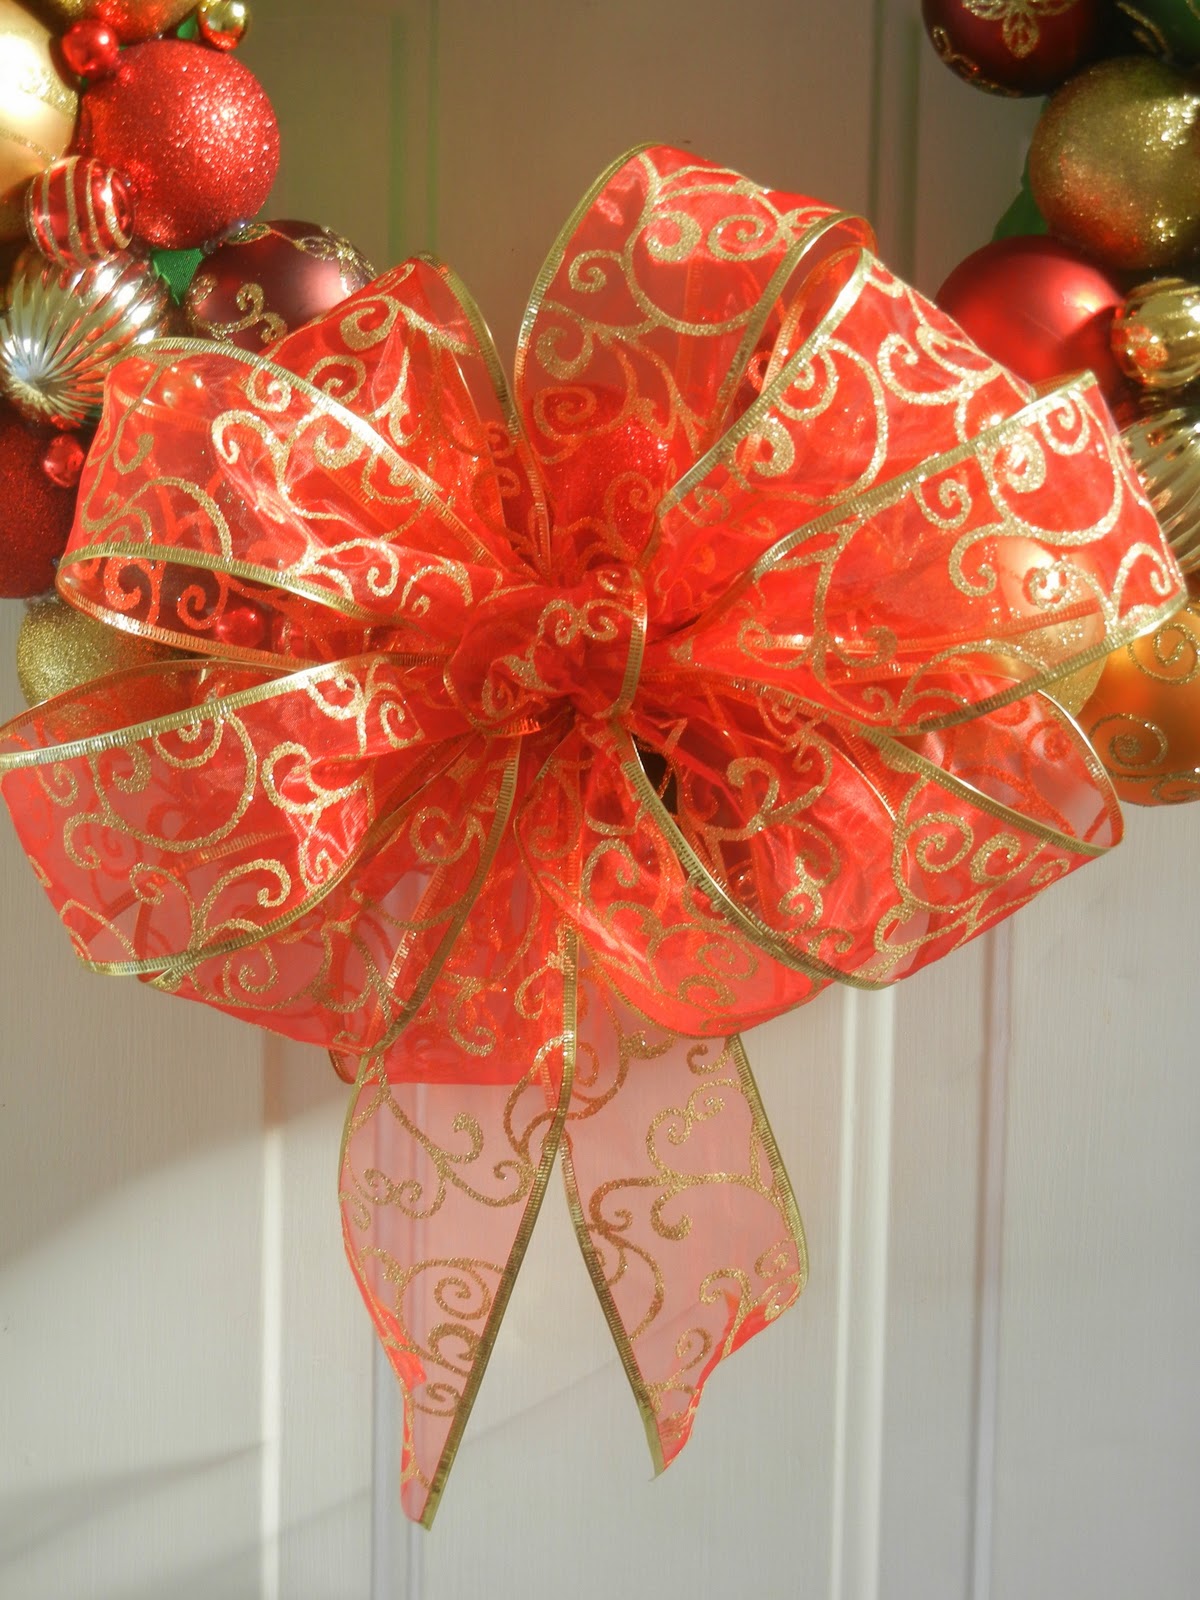
It turned out pretty good! Notice the two holes at the bottom? Yep, I ran out of bulbs- ONLY TWO SHORT! how annoying! But never fear, I'm adding a BOW! (image that!?) Stay tuned to see the finale when I find the very perfect Red/Gold ribbon!


A few tips for creating/hanging wreaths:

To create your own wreath form, you can buy a swim noodle and cut it to the size you want, curve it into a circle and secure it with duck tape. Easy breezy!

To hang a wreath, you can stick a 3M hook upside down on the back of your door and attach a ribbon to it, taking it up and over the door. See HERE for a picture and some other great ideas!

I've found some great ribbon!!! Thank you Black Friday sale at Michael's Craft Store. Here's what I decided on:

There she is! ALL FINISHED!  

Specific questions about this project? Let me know!