Showing posts with label wreaths. Show all posts

February 26, 2012

Birdseed Cupcakes


It's for the birds.. literally. Super simple birdseed cupcakes, complete with ribbon hanger. (And the birds can use the ribbon for their nests--it's a fact)

*Update: once my cupcakes dried, they didn't stay together quite as well as I'd wanted (especially since my original plan was to make a birdseed wreath)..I think overall the cupcakes should be fine, but I think adding the ingredients below (bolded) will work better for the wreath at least.

Here's what you'll need:


4 cups Birdseed
1 packet Knox unflavored gelatin
3 tablespoons light corn syrup
3/4 cup all-purpose flour
warm water
cupcake tray
Cooking spray
thin ribbon
Scissors

Estimate the length of ribbon you'll need. Tie the ends in a knot. You'll need one for each cupcake. Approximately 24.
Pour packet of gelatin into a bowl. Add 1/2 cup warm water and stir until dissolved. Stir in corn syrup and flour.

Add 4 cups of birdseed and stir. Mixture will get stickier as you continue to stir.
Spoon into greased  cupcake tray. Use a knife to wedge the ribbon deep into each cupcake. Add additional seed and press firmly.


Allow to sit until dry.

When ready, they should slide out of the tray with ease.

Hang in your trees and enjoy the visitors! So cute and the birds will love them too!


*Update: wreath to come.. hopefully it will work this time. Stay tuned!


Finally-- SUCCESS! the new recipe (above) is wayyyy better than the first, it's like super glue! (I hope these aren't famous last words) When I read about doing this, it suggested using a decorative bundt cake pan and I have to say, the examples I saw were quite pretty. BUT, I don't have a bundt pan or anything decorative for that matter, so I turned to a disposable round foil pan instead.

To create the hole, I used a drinking glass turned it upside down. Be sure to grease both the pan and the edge of the glass.


Scoop your mixture in and press firmly- really give it a good smush!


Keep smushing!


Let it sit overnight. It may look a little white and it should slide right out of the pan.


Add a fancy bow! I used unwired polka dot ribbon with the wired green sheer ribbon. It really dresses it up and makes it a great gift option.


I LOVE the sunflower- it makes it so pretty and springy!


Much better than the first crumbled attempt! Hopefully it can also withstand some wind!


February 21, 2012

Spring Wreaths in February

Okay, okay, so it's possible I'm getting ahead of myself with this whole "spring is coming" thing.. but seriously, I'm tired of the cold, and we've only gotten one snow delay once this entire winter.

And in the words of Lauryn Hill, "after winter must come spring".. in my mind (my super planner, Type A mind) I'm totally justified in getting ready early.

I may also be over eager since I made something like 4 winter wreaths (Check them out here and here)..none of which for me, so my door had an autumn leaf wreath on it from October until a few weeks ago.

The two wreaths below are very similar, yet customized for exactly what you like.


I love the idea of putting your house number on your wreath, it's so cute and practical. the flowers are both hot glued and wired in. I pulled the leaves off the flower stems and hot glued them separately.


Ribbon wrapped house numbers- as easy as it sounds. All you need are the simple wooden letters from your local craft store (I think these were $2.99 each at Hobby Lobby?) Start on one end and hot glue your ribbon to the back. wrap several times, then glue again. Keep going until you've wrapped the entire thing. Hot glue the end.


Here's a closer look:


Since I don't have a house number, only a letter, I didn't want to go that route for my own wreath. Instead I got the long vine-like stems (also from Hobby Lobby) and inserted them in to the wreath, starting each at a different point.I pulled leaves off the flower stems and added them to make it look more full.


Consider this:

Why wood wreath forms are great-
1. they're generally cheaper than Styrofoam wreath forms ($4.99 compared to $12ish)
2. It's easier to make your stems stay put!
3. It gives a more natural looking final product


December 26, 2011

Winter Berry Initial Wreath

Happy Holidays!
I hope everyone had a safe and relaxing Christmas!

When getting in the spirit for Christmas, I found a great winter wreath idea here, and was dying to make it. Ccoincidentally, my boyfriend's last name begins with a "D" so I thought it would be the perfect gift for his mom. I went ALL OVER the place looking for a flat black letter "D", but had no luck. Some weren't big enough, some weren't flat, some were the wrong color- I just knew I wasn't going to find it. Eventually I settled for a gold 3-D letter I found at Hobby Lobby, 12" (if I remember correctly).


So here's what you'll need:
12" letter
 5-6 berry branches (floral/holiday section at most craft stores)
 hot glue (of course)
burlap or ribbon
wire for hanging


First, cut the berries off each branch. I had some left over at the end, so I wouldn't recommend cutting the berries off all five or six stems at the beginning.


If your letter is 3-D like mine, start gluing the bunches onto one side first. When finished with one edge, start on the next.


Just keep adding.. just keep adding..


and add a little more...


Then add a BOW!
(and create a wire ring for it to hang from, and add little adhesive protective circles to the back so it doesn't bang against the door)


(Note: wire circle for hanging runs through the back of the bow)

If I did this project again, I would: buy a longer piece of burlap ribbon, and MAYBE not get the burlap with the red trim, but instead maybe plain.


November 20, 2011

Christmas Bulb Wreath!


There's nothing better during the holidays than a good wreath!


I originally set out to create a holiday bulb wreath that would be silver, white, and blue... but when I couldn't find the colors I wanted, sizes I needed, or they were too expensive for a trial project, I defaulted to traditional Christmas colors with a twist- textured, solids, patterned, etc. (finally found bulbs at The Christmas Tree Shop.. imagine that)

Here's what you'll need:
wreath form (you can make your own, see below!)
Ribbon
Scissors
Hot glue (of course!)
Shatterproof Christmas Bulbs in 3 sizes

(I quickly decided against using yellow ribbon, and opted for green and red instead)

First things first-- Hot glue one end of your ribbon to the wreath form and begin wrapping around, covering the form entirely. Glue the ribbon down in several places. This will serve as your "canvas" and will be mostly covered so don't worry if it's not perfect. You can use two different colors if needed, but keep in mind it will show through in some places.
(Save yourself money by using ribbon that is wireless)


 See! Far from perfect, doesn't matter!


Now- pull all the hangers out of the bulbs


Start with your largest size bulbs and glue them on the wreath form so that they're spaced evenly. Then begin gluing the "medium" size bulbs onto the form. Be sure to alternate colors, patterns, etc. as you go around. You'll complete the wreath by adding the smallest size (I actually cut apart Christmas bulb-shaped garland for these pieces because I couldn't find small enough bulbs.) If you need some visuals, check out this blog!


Once you get gluing it will look something like this. (Sometimes you can see the dried hot glue on some bulbs, but don't worry-- when it's hanging, no one will ever know!) And depending on the bulbs you choose, there may be glitter EVERYWHERE by the time you're finished!


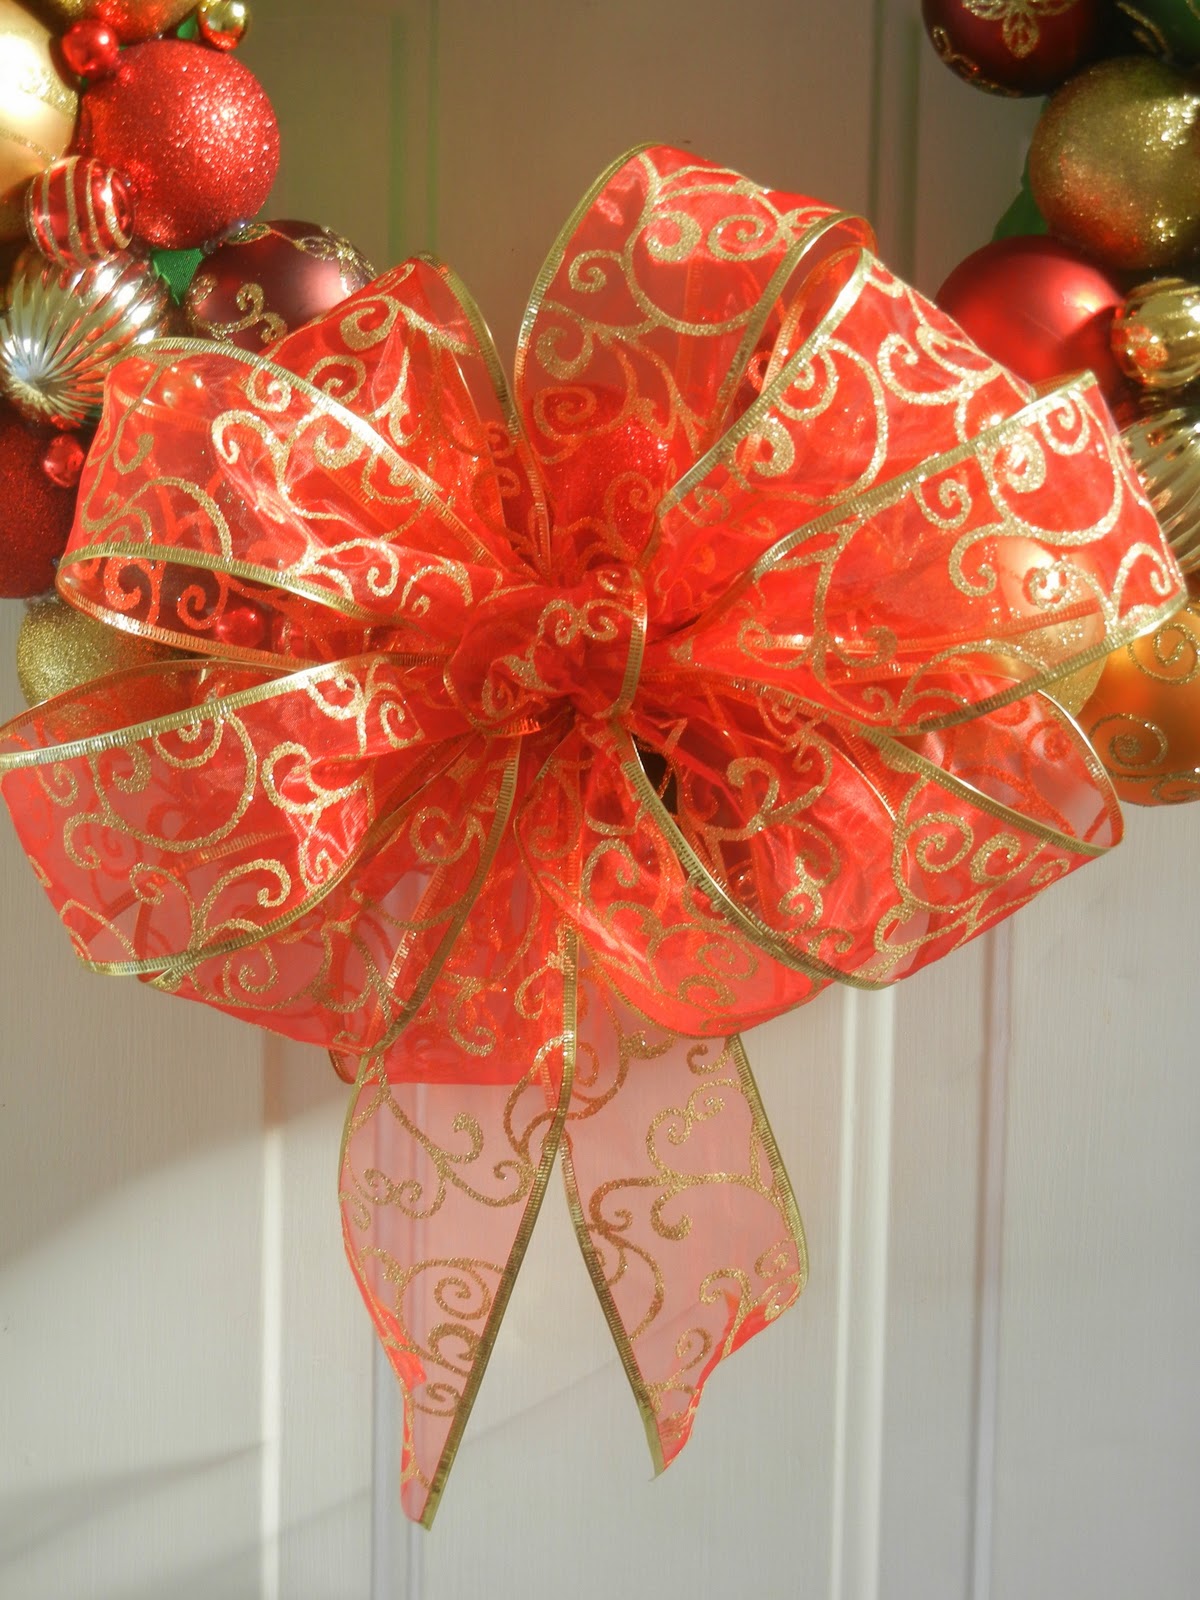
It turned out pretty good! Notice the two holes at the bottom? Yep, I ran out of bulbs- ONLY TWO SHORT! how annoying! But never fear, I'm adding a BOW! (image that!?) Stay tuned to see the finale when I find the very perfect Red/Gold ribbon!


A few tips for creating/hanging wreaths:

To create your own wreath form, you can buy a swim noodle and cut it to the size you want, curve it into a circle and secure it with duck tape. Easy breezy!

To hang a wreath, you can stick a 3M hook upside down on the back of your door and attach a ribbon to it, taking it up and over the door. See HERE for a picture and some other great ideas!

I've found some great ribbon!!! Thank you Black Friday sale at Michael's Craft Store. Here's what I decided on:

There she is! ALL FINISHED!  

Specific questions about this project? Let me know!