November 28, 2011

DIY Winter Wine Bottles


There's no sense in throwing away your empty wine bottles this fall if you can make fun decorations with them!

Here's what you'll need:
Empty wine bottles, white spray paint, tree branches from the yard, silver branches,
glitter spray, adhesive spray, rock salt


Start by collecting several wine bottles. Soak the labels off in the sink or bathtub.
Put down some newspaper and prepare to spray paint!


Coat the bottle evenly with white spray paint, careful not to cause dipping. Let dry.


Here are the four bottles I painted. Notice there are two taller, and two shorter-- I did that on purpose :) Apply a second coat if needed!


On separate newspaper, lay your branches down and spray them with glitter spray. Let dry, turn over and coat opposite side. You could also dust them with the white paint to make them appear "snowy"- it's totally up to you!


Once your bottles are dry, spray the lower portion of each with adhesive spray. Then sprinkle with rock salt to create an iced look. To finish, lightly spray glitter spray over the entire bottle.


Yep, took this straight out of the kitchen!


So easy, but so cool!

When your branches are dry (doesn't take long at all), combine them and the silver branches
 to fill each bottle


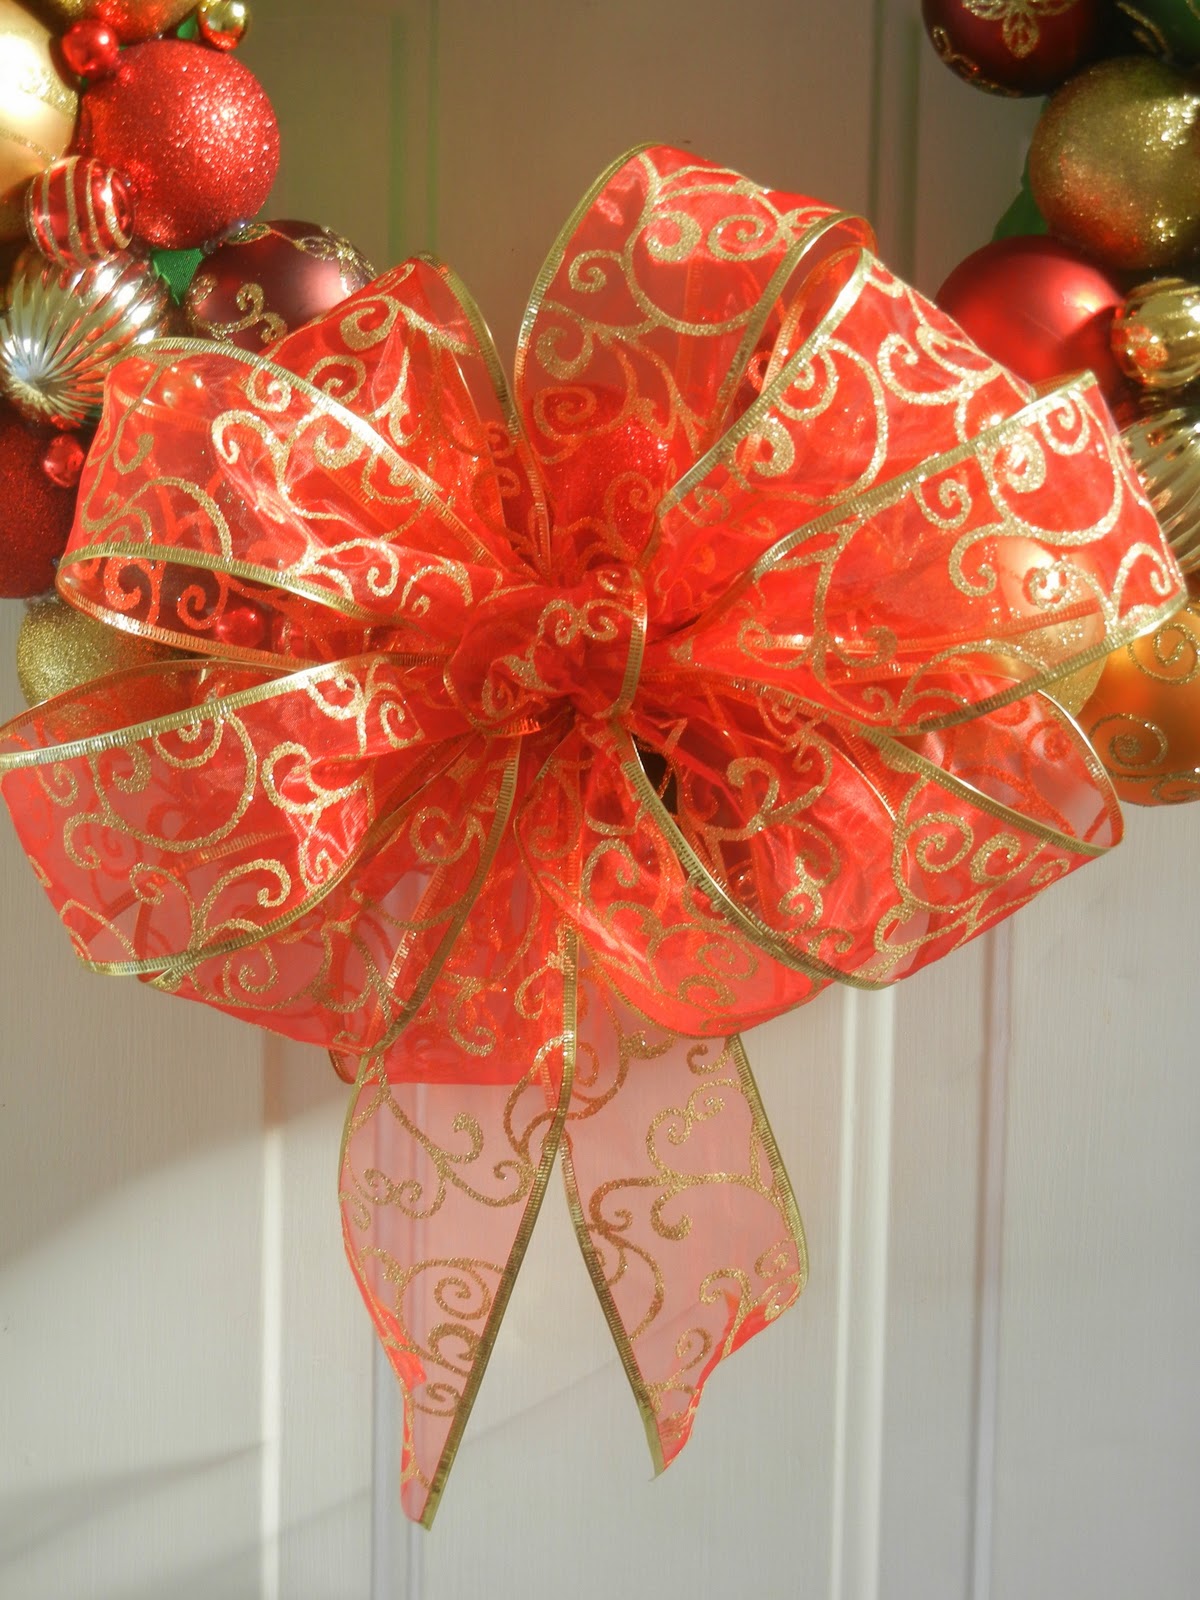
A pair on your mantle/hall table/some kind of black surface looks pretty sharp! Feel free to add a bow!


November 25, 2011

Thanksgiving 2011 Snapshot

I hope everyone had a great Thanksgiving! Here are a few snapshots from the Durham household!


We ate, we napped, thennn we shopped!

November 23, 2011

All That Glitters..

On this Thanksgiving eve, I want to share with you some DIY decorated champagne glasses that are sure to make your holiday season a little brighter-- and a little more GLITTERY! Because this project is super easy and inexpensive, you can make them for holiday parties, bachelorette parties, special events, birthdays, etc. AND- depending on the paint brush you use, you can even personalize them with a monogram or design.

WHO WOULDN'T WANT TO DRINK OUT OF THIS?


So.. here's what you'll need:

Champagne Glasses (set of 4 at Walmart, $5), Glitter (about $3 at Michaels Craft Store), Craft Glue,
Foam Paint Brush (Less than $1), painter's tape (optional)


(I thought it was a excellent sign that the brand name was Libbey)

Squeeze some glue into a bowl, and add just a little water. Stir it up with a spoon or your finger. The consistency should be barely watery. (A little bit goes a long way)..and by the way, this is Modge Podge so don't buy it it in the store- glue and water are just as good.


One design (for those who like/are good at creating straight lines) add painter's tape to the
 top of the wine glass. Like so:


Lightly dip your foam brush in the glue (don't get crazy, you don't need a lot), and while holding the glass with one hand, paint up the side with glue. you can make a pattern or paint the whole thing, just don't paint the stem (people will need something to hold on to)


Add glitter!


(I used gold glitter until I got towards the top and then I added red and blue)

Wait until it dries and remove the tape. Shake off the extra glitter. Waah Laa!


On the next one, I wanted less of a straight line and more of a faded-type look.


Happy Thanksgiving Ya'll!
CHEERS!

November 20, 2011

Christmas Bulb Wreath!


There's nothing better during the holidays than a good wreath!


I originally set out to create a holiday bulb wreath that would be silver, white, and blue... but when I couldn't find the colors I wanted, sizes I needed, or they were too expensive for a trial project, I defaulted to traditional Christmas colors with a twist- textured, solids, patterned, etc. (finally found bulbs at The Christmas Tree Shop.. imagine that)

Here's what you'll need:
wreath form (you can make your own, see below!)
Ribbon
Scissors
Hot glue (of course!)
Shatterproof Christmas Bulbs in 3 sizes

(I quickly decided against using yellow ribbon, and opted for green and red instead)

First things first-- Hot glue one end of your ribbon to the wreath form and begin wrapping around, covering the form entirely. Glue the ribbon down in several places. This will serve as your "canvas" and will be mostly covered so don't worry if it's not perfect. You can use two different colors if needed, but keep in mind it will show through in some places.
(Save yourself money by using ribbon that is wireless)


 See! Far from perfect, doesn't matter!


Now- pull all the hangers out of the bulbs


Start with your largest size bulbs and glue them on the wreath form so that they're spaced evenly. Then begin gluing the "medium" size bulbs onto the form. Be sure to alternate colors, patterns, etc. as you go around. You'll complete the wreath by adding the smallest size (I actually cut apart Christmas bulb-shaped garland for these pieces because I couldn't find small enough bulbs.) If you need some visuals, check out this blog!


Once you get gluing it will look something like this. (Sometimes you can see the dried hot glue on some bulbs, but don't worry-- when it's hanging, no one will ever know!) And depending on the bulbs you choose, there may be glitter EVERYWHERE by the time you're finished!


It turned out pretty good! Notice the two holes at the bottom? Yep, I ran out of bulbs- ONLY TWO SHORT! how annoying! But never fear, I'm adding a BOW! (image that!?) Stay tuned to see the finale when I find the very perfect Red/Gold ribbon!


A few tips for creating/hanging wreaths:

To create your own wreath form, you can buy a swim noodle and cut it to the size you want, curve it into a circle and secure it with duck tape. Easy breezy!

To hang a wreath, you can stick a 3M hook upside down on the back of your door and attach a ribbon to it, taking it up and over the door. See HERE for a picture and some other great ideas!

I've found some great ribbon!!! Thank you Black Friday sale at Michael's Craft Store. Here's what I decided on:

There she is! ALL FINISHED!  

Specific questions about this project? Let me know!

November 13, 2011

Paper Bow Wine Topper

Perfect for either a casual occasion or for a more festive event, paper bows are easy to make and look pretty awesome!
 (if I do say so myself!)

A total coincidence that the colors of the label matched the autumn paper I'd previously picked out, but it's not a bad idea, if you're flexible about paper..or wine.


Here's what you'll need:
2 colors/patterns 12x12'' scrapbook paper - scissors- glue - 1 pipe cleaner - ribbon (with wire)


Here's How..


1. Cut each piece of scrap booking paper into strips.(about 7).
2. Roll the paper, one at a time, around your finger to create a slight curl. Tuck end and glue.
3. Continue paper around and glue again, and again until you glue the end down.
4. Once dry, pinch the end of each paper circle to create a pedal shape.
5. Complete rolling, gluing, and pinching several paper circles.
6 &7. String them each onto a pipe cleaner, alternating colors/patterns.
8. Push them close together and twist the pipe cleaner closed. Some overlapping of the paper is good.
9. Cut a piece of ribbon and tie it around the bottle's neck. Lace one side of the ribbon end through the pipe cleaner keyhole and tie the ribbon ends together again to secure. Pull ribbon end through the center, only part way and shape as center of "flower". Twist and turn the pipe cleaner and shape it as you like it. Add extra strands of ribbon and curl them using a pencil, etc.


  Cute, huh?


November 11, 2011

Home of The Free, Because of The Brave

Today we're reminded of how lucky we are to live in America! We owe great thanks to those who put the well-being of our country before themselves, and make great sacrifices to protect us at home and abroad. Today's post is a tribute to my two favorite soldiers, Evan (my boyfriend's brother, U.S. Marines, Afghanistan), and my Pop (Grandfather, U.S. Air force, WWII).

Evan left for his 2nd deployment to Afghanistan last spring, and we counted down the days (literally) from when he left us March 21 to when he returned October 17 (6:30am to be exact).

We could not be more thrilled for him to be home again, along with his fellow Marines of 2nd Combat Engineer Battalion (North Carolina based), and 1st battalion 5th Marines (California based).

I was lucky to capture these awesome shots of his homecoming!

Welcome Home Cpl Durham!


First view of him getting off the bus at Camp Lejune. Jacksonville, NC


The best day we've all seen in seven months


 Reunited and it feels so good!


 Evan and I (don't mind my post-cry puffy eyes)


We are so Proud of You!

(http://www.holidayinafghanistan.com/ can provide you with interviews and information about 1/5 while deployed.)


My Pop Nichols (My dad's father) was part of a flight crew who flew B-52 bombers during WWII. As part of my photography class in college, I double exposed two photos, one of Pop and one of an American flag. It's a pretty cool effect, and to me, it's a perfect representation of everything he stands for. Americans have a lot to be thankful for, and to start with I'm thankful for him.


Spring 2008


Fall 2011


We still have troops deployed. If you'd like to send a care package (as easy as filling a flat rate box, filling out a customs form, and paying $12 to ship it), the information is below.

To find a soldier, you can try church/business/organization outreach programs, or the links below. (Note: I haven't tested the resources below but they seem to be the real deal)

http://www.herobox.org/
http://www.operationgratitude.com/

Things the soldiers may need:

gum, Lifesavers, Mints, Hard Candy
canned fruit single serving sizes,
Dried Fruit
Nuts, sunflower seeds, peanuts, trail mix, Beef Jerky
Power bars, Protein bars
Instant coffee, Hot cocoa mix
lemonade, tea or kool-aid mix
Propel, gatorade drink mix
travel games, cards, cross word puzzle books
long underwear
Stocking caps- dark colors
t-shirts (olive drab green, black, white)
Disposable cameras
Pop Tarts, cereal bars
Ramen noodles, instant cooking meals (Chef Boyardee)
Tuna lunch kits
Tennis Balls, sports equipment
DVDs, Magazines
Sunglasses, sunscreen
Cotton Socks- black
Fingerless gloves
Hand sanitizer, lotion, chapstick
Q-tips, tissues, moleskin, foot powder
Quart sized zip lock bags
72" boot laces
AA, AAA batteries
Handwarmers
Small blank journals
Travel pillows, travel blanket
Bandaids & first aid kits
Envelopes and paper
Shaving cream & razors
Letters from home

- Get creative! We sent some fun stuff too like bug zappers, mouse traps, silly string, nerf footballs, jiffy pop, vacuum sealed cookies, sweedish fish, dehydrated fruit, canned chicken, family pictures, a "birthday box".


*Note: Make sure you ask the post office how to fill out the customs form because it can be tricky! If you send several boxes, it can help to both number the inside flap of the box and keep a basic list of the contents. It can take anywhere from 10 days to months to arrive, so it helps to keep it all straight!

Love our Troops, Love our Vets!


November 8, 2011

Football Favorites!

Here are the top 3 game time must haves! (Did I mention calories don't apply on Sundays?)

Loaded Baked Potato Dip
Southern Living Magazine


Ingredients:
1 (2.1-oz.) package fully cooked bacon slices
1 (16-oz.) container sour cream
2 cups (8 oz.) freshly shredded sharp Cheddar cheese 1/3 cup sliced fresh chives (optional)
2 teaspoons hot sauce or to taste
Serve with: waffle fries

How to Prepare:
Microwave bacon according to package directions until crisp; drain on paper towels. Cool 10 minutes; crumble. Stir together bacon and next 4 ingredients. Cover and chill 1 to 24 hours before serving. Garnish, if desired. Serve with crispy, warm waffle fries. Store leftovers in refrigerator up to 7 days.


Vulture Dip
(because people will hover until it's all gone)
Courtesy of Amber, you can also find the recipe at Allrecipes.com


Ingredients:
1 pound fresh, ground pork sausage
1/2 pound fresh, ground spicy pork sausage
1 (8 ounce) package cream cheese
1 (14.5 ounce) can diced tomatoes with green chile peppers (Rotel)
Hot Sauce/Cayenne Pepper (optional)

How to Prepare:
In a large skillet, brown sausage. Drain excess fat.
Cut cream cheese blocks into small cubes. Add cream cheese and tomatoes to skillet. Heat over a medium heat. Stir continually. Mix in hot sauce or cayenne pepper if preferred.
 Serve as soon as cream cheese melts completely. Serve with tortilla chips.


Cowboy Caviar
Costco Cookbook or you can buy it premade at Costco


 Ingredients:
1- 15oz can of shoepeg or sweet corn, drained
1- 15oz can of black eyed peas (or black beans if you prefer), drained
1 avocado, peeled and diced
2/3 cup cilantro, thinnly chopped (optional)
2-3 green onions, chopped
3-4 Roma tomatoes, chopped, semi- drained
1/4 cup olive oil
1/4 cup red wine vinegar
2 garlic cloves, crushed
3/4 tsp salt
1 tablespoon ground cumin
pepper to taste

How to Prepare:
 In a bowl, mix together: corn, peas/beans, avacado, cilantro, green onion, and tomatoes. Set aside.
Whisk together in a smaller bowl the final ingredients. Combine mixtures and stir. Season additionally if needed. Serve with tortilla chips. Makes 4-6 servings.

*Cowboy caviar is also really yummy on tacos and salad.


Enjoy, preferably with a cold beer! 

November 5, 2011

Where There's a Will, There's a Way.. and a Bow

I wanted to share a couple wrap jobs I've done lately,
maybe they'll provide you some inspiration!


A thank you gift- Lime green wrapping paper with a double ribbon- sheer navy with
 jewel tone paisley


Baby Shower Gift- bottle cleaner, bottles, pacifiers,
travel goodies, washcloths- all in a baby bin


Bridal Shower Gift- inspired by the apron I found! Cutting board, champagne and champagne glasses, kitchen towels, candles, and card all in great basket she can re-use! When putting the basket together, I didn't care for how the cutting board and box of glasses looked-- so I wrapped them in coordinating giftwrap.


My first diaper cake and since then it's my favorite baby gift to give!
 Green and Blue polka dot diapers (Target),
 2 Bottles to build the diapers around,
lots of ribbon, and pacifers, and washcloths to add little treasures.
A great resource for this:  How to Create a Diaper Cake.